![]()
![]()
![]()
![]()
|
|
|
|
|
The following software extraction procedure must be performed for standalone PMOD installations, for PMOD servers, and also for all PMOD network clients.
Please begin by inserting the PMOD installation DVD. Then start the installer by executing RunSetup in the Setup/Linux directory on the DVD by double-clicking, depending on your operating system.
The following installation screen appears
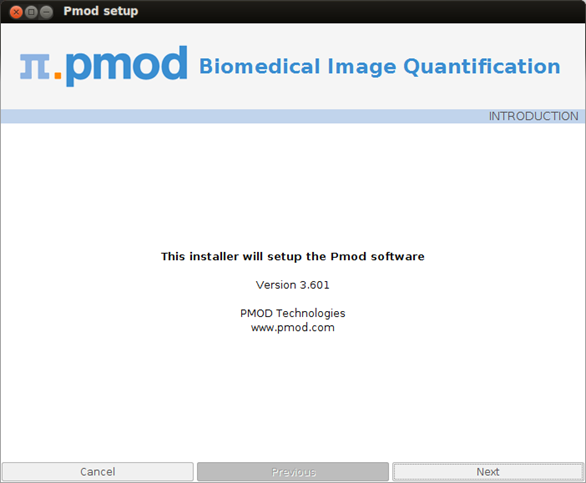
Please use Next to proceed and accept the license agreement in the appearing dialog window. After activating Next the window for configuring the installation appears.
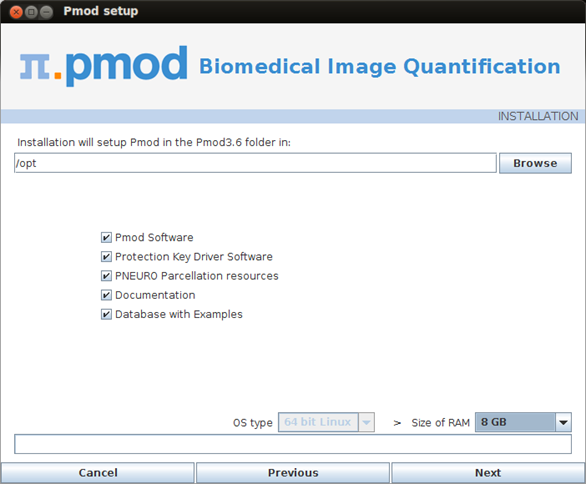
Please perform the following configurations:
Installation Path
Use the Browse button to select the parent directory for the installation for which the installing user has writing permissions. There, the installer will create a new directory Pmod3.6 for the program files and the data. Please make sure that 450MB of free space is available.
Packages
It is recommended to install all four packages, the Software, the Protection Key Driver Software, the Documentation, and the Example Database. The Example Database requires about 120MB, but will be a great help for getting acquainted with the programs because they provide examples for the the different types of analysis. Furthermore, you will already have a database for storing your data.
Properties of Operating System and RAM
The operating system of your target computer needs to be 64-Bit. Size of RAM can be set to any size. However, if the specified size exceeds the physical RAM, the system will start swapping after RAM space is exhausted and will become very slow. Therefore it is recommended setting Size of RAM < physical RAM.
Installation of the PMOD Environment
The installation is started by the Install button. The Pmod3.6 directory is created wherein all PMOD-related files are extracted. If the installing user has no write permission in the parent directory, a dialog window appears which reports an installation problem. In this case please change the writing permissions of the installation as root user, or try the installation again using a different installation directory.
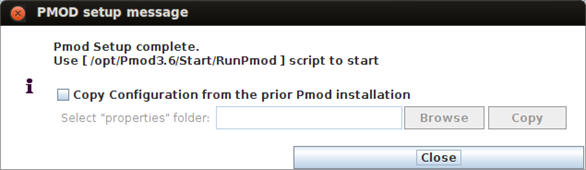
At the end of the installation a dialog window is shown. It indicates the command script for starting Pmod3.6, and allows importing the configurations from a prior version. To this end, select the properties folder of your prior installation with the Browse button as illustrated below, and activate Copy Configurations. This import will also copy the license file, so that Pmod3.6 should immediately run with the familiar environment if your license is valid with the Pmod3.6 version.